Leads that have an appointment or a project associated with them will be located here.
To learn how to add a lead, click here. To learn how to convert a lead, click here.
- Tap on the navigation menu in the top left-hand corner
- Tap on “Customers”
The “Customers” dialogue box appears. Pick from a list of recently accessed or tap in the search bar and start typing.
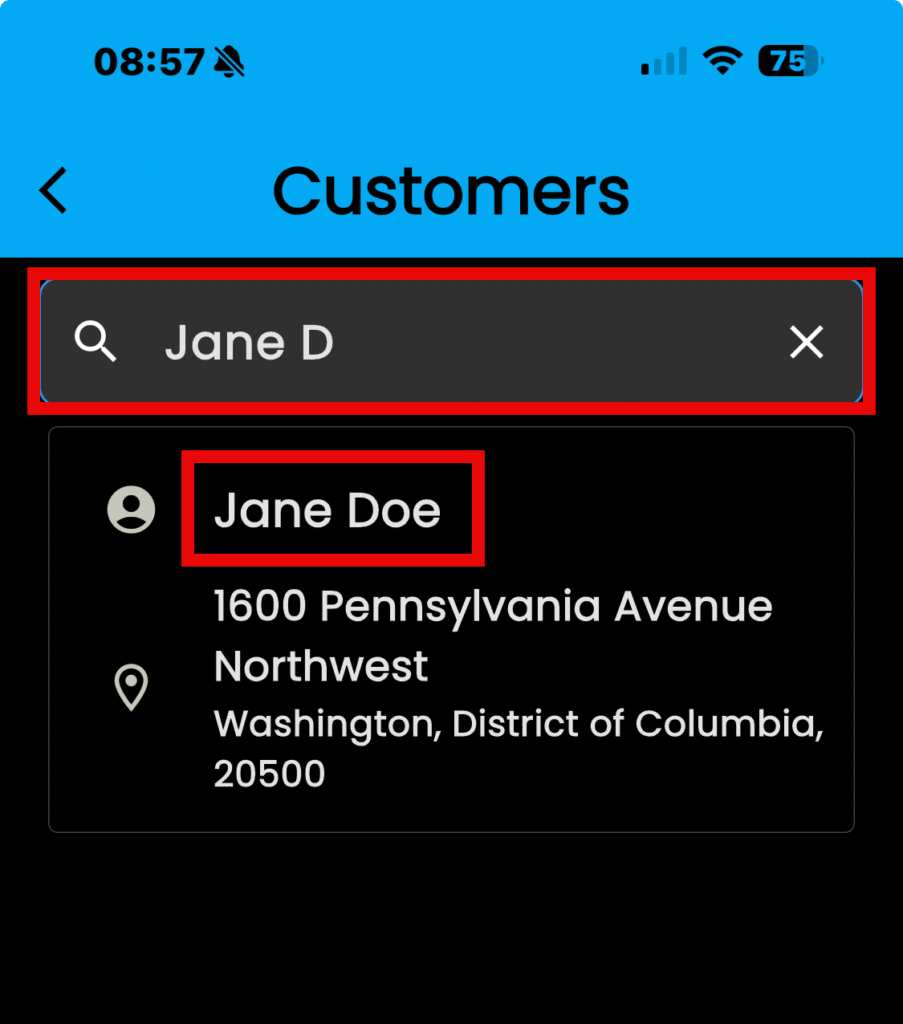
Let’s explore our Jane Doe customer
- Tap on the name of the customer to select
- The Customer dialogue box opens
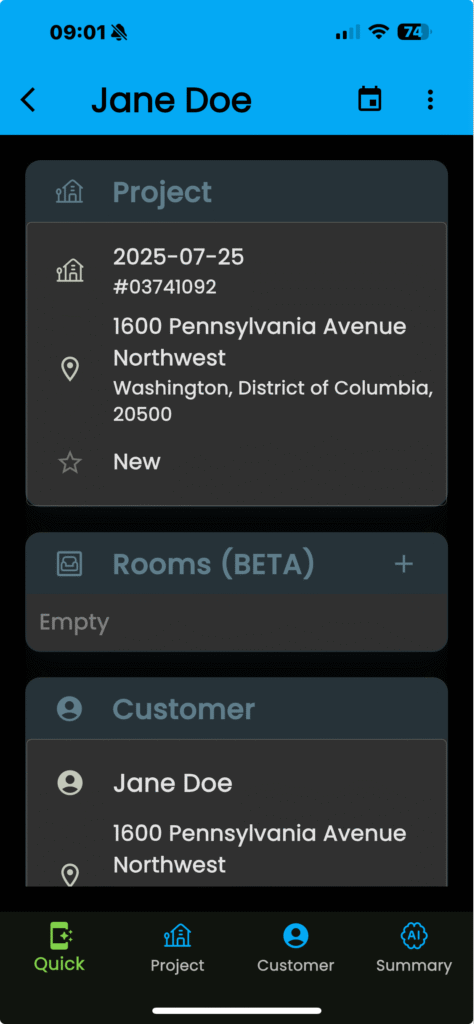
At the top, you will find the “Scheduler” and “Actions” menu options.
At the bottom, you will find interaction menus

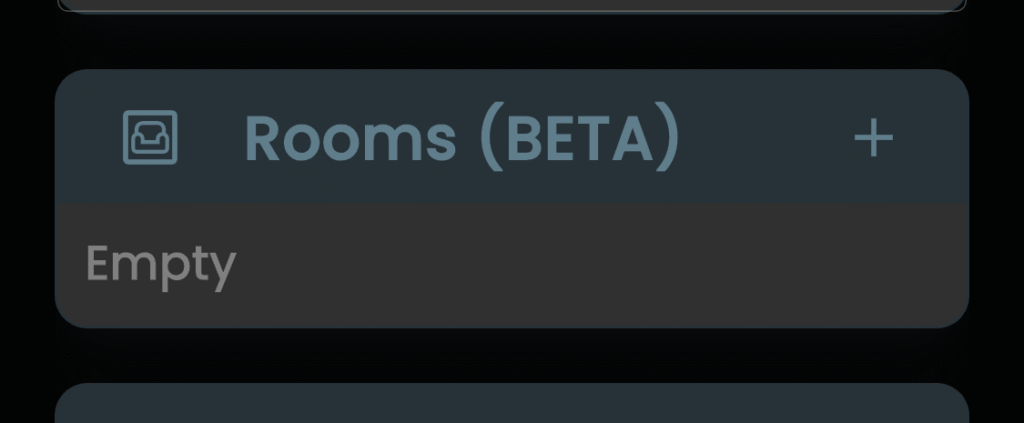
“Quick” – Use to view the customer’s main page including adding a room
“Project” – Use to view all the projects associated with the customer
“Customer” – Use to add more information about your customer. Use to update information, such as preferred method of contact, adding alternate emails to contact them and instructions for emailing.
“Summary” – Use the AI feature to compare and summarize details of the proposals, or responses to provide to customers. More on using the AI feature will be coming soon!
