When you schedule an appointment, you are converting a lead into a customer. This allows you to add rooms, make proposals, and assign tasks.
Tap on the navigation menu icon (top left) from the main page
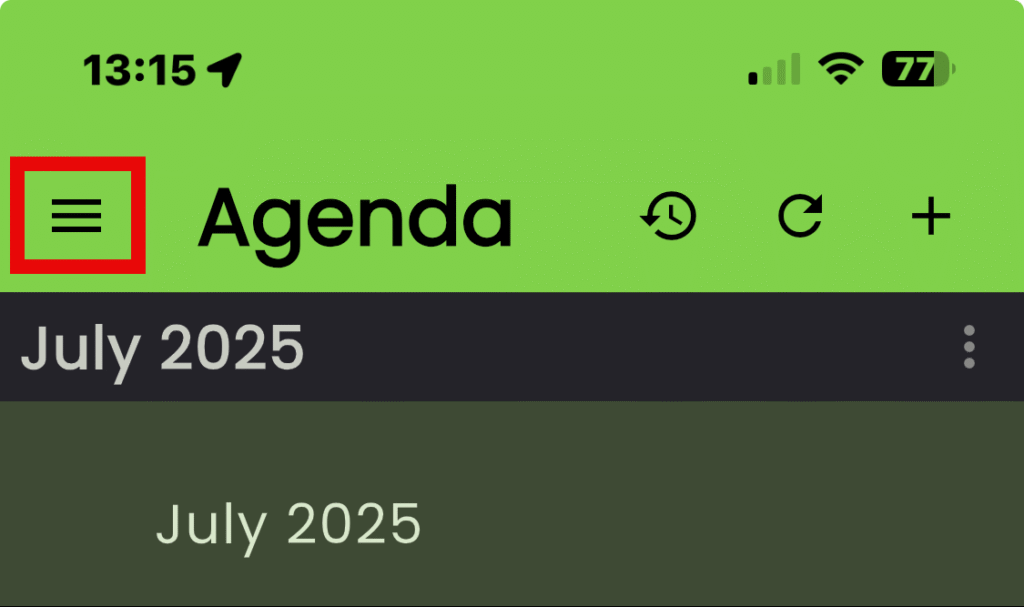
- Tap on “Leads”
- Tap in the “Search” bar and start typing
- Or choose from your list of “Recent” leads
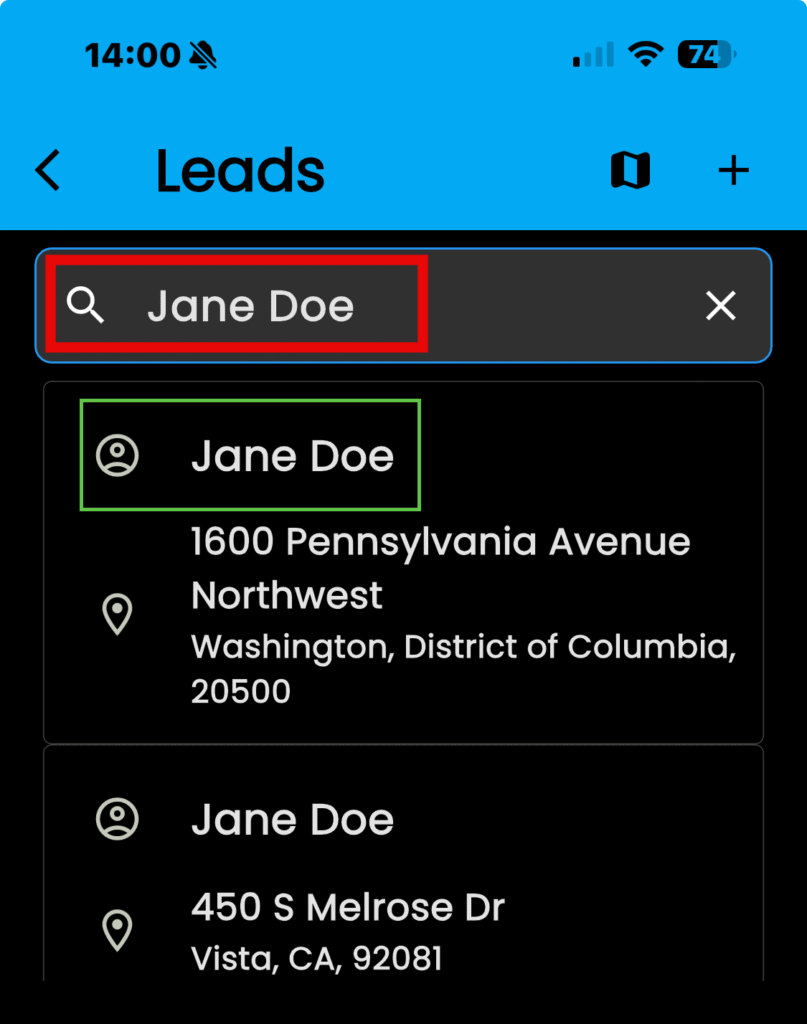
- Tap on the name in the lead
- KEEP IN MIND: Clicking on the address will open up your default map application
- Tap on the “Calendar” icon
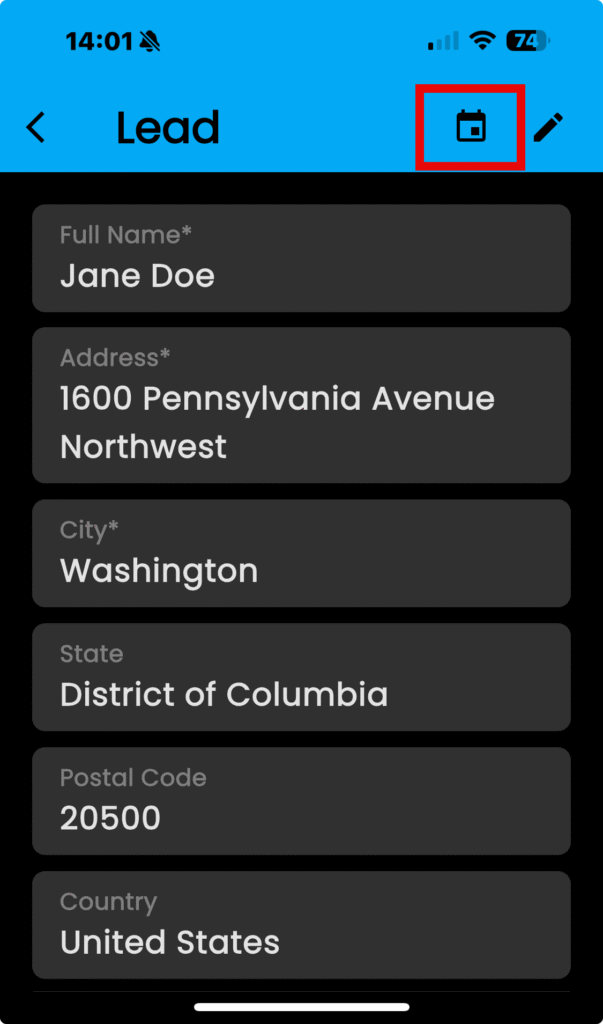
The Scheduler dialogue box will open
For more information on using the scheduling feature, click here
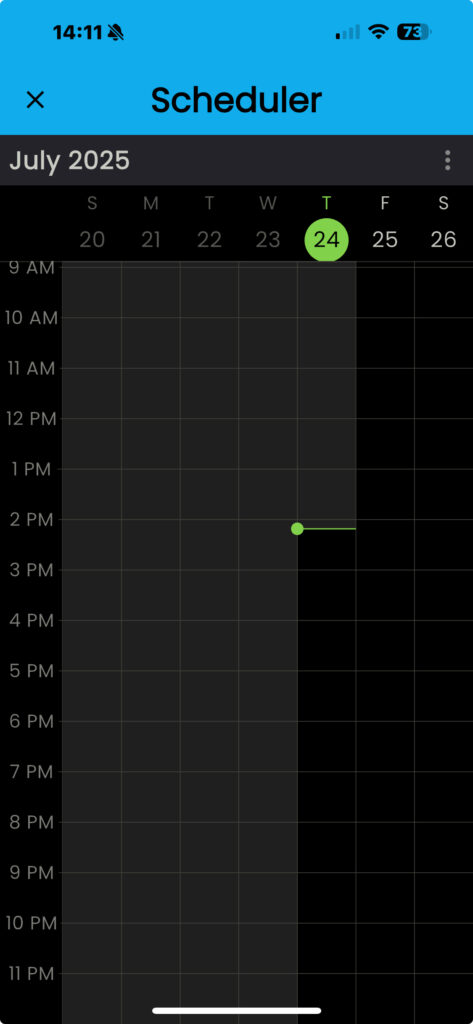
- Tap in an available area to choose a time slot
- The green marker line shows the current time
- KEEP IN MIND: Shaded grey areas are unavailable slots (above and left of the green line)
The “New Appointment” dialogue box will open
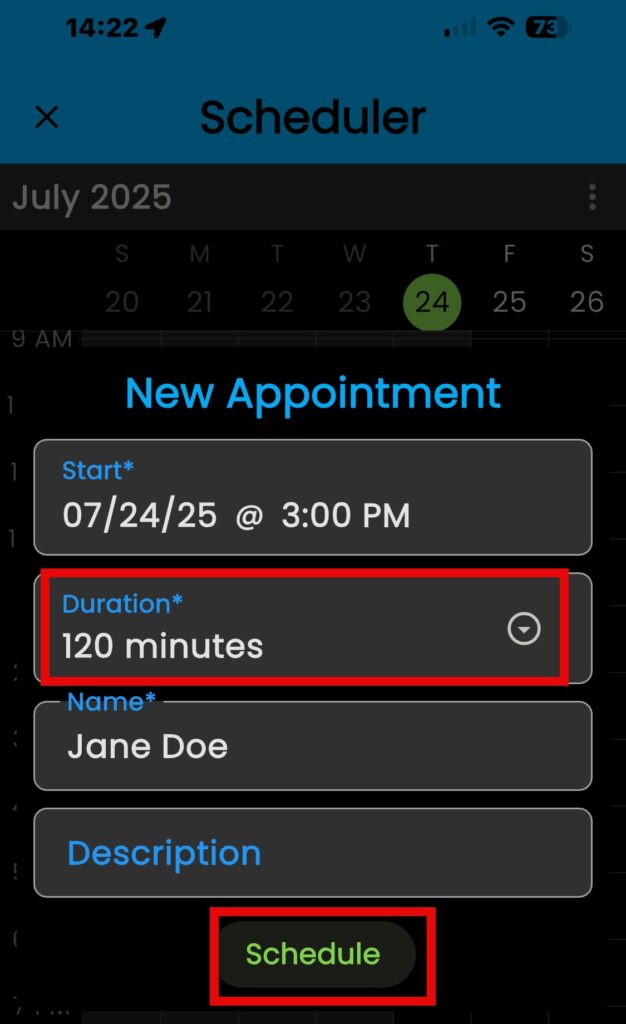
KEEP IN MIND: You can choose how long you want to schedule the appointment by taping on the “Duration” box and selecting from the drop-down list.
- Tap on “Schedule” to finalize your appointment
Now you have a new customer in the OTG app and on Salesforce.